Showing posts with label Fast food. Show all posts

Wednesday, 18 December 2024

A Festive Workplace Feast


The holiday season is a magical time of year, and what better way to embrace it than gathering with colleagues for a festive Julbord? This year, our team decided to create a potluck-style Julbord at work, where everyone brought something special to share. The result? A table overflowing with delicious flavors and treats. 
A Julbord is a traditional Swedish Christmas feast, typically served buffet-style, featuring a variety of festive dishes.
 It includes classics like pickled herring, smoked salmon, meatballs, sausages, Janssons frestelse (a creamy potato and anchovy casserole), cheeses, vörtbröd (spiced rye bread), and sweet treats like gingerbread cookies. Julbord is a cherished part of Swedish holiday celebrations. 

A Brie-lliant Centerpiece
One standout was a creative brie cheese Christmas tree appetizer. Arranged with precision and care, this dish looked as festive as it was tasty. With layers of creamy brie, bright lingonberries, toasted almonds and sunflower seed in salt and chilli, and a drizzle of honey, it was almost too beautiful to eat—but we didn’t let that stop us!
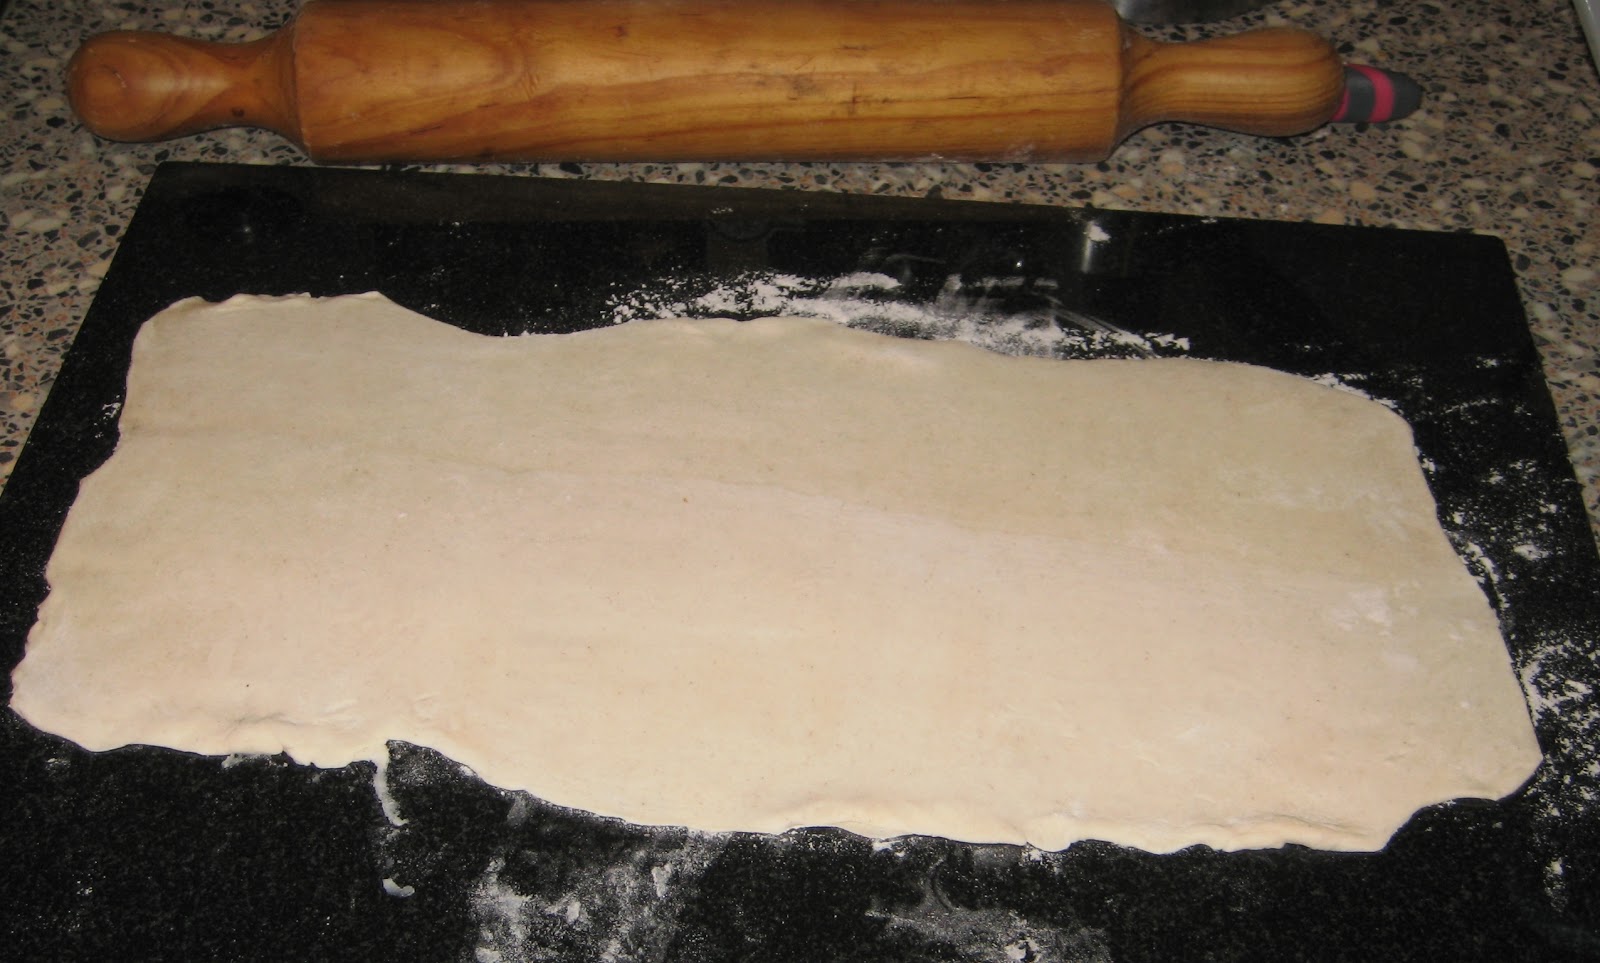
Flatbread Rolls
Another hit was the flatbread rolls stuffed with smoked salmon and pepparrotssås (horseradish cream). These bite-sized delights were fresh, creamy, and had a hint of spice that paired perfectly with the delicate salmon.

Crustini Duos for Double the Fun
Crustini topped with a duo of toppings quickly became crowd favorites. Some were spread with cream cheese, dill, topped with silky slices of salmon, and garnished with briny capers. Others featured a savory feta cheese and slices of meat with drizzle of crema di balsamico, that complemented the crispy bread. Simple, yet absolutely satisfying.

Kladdkaka Muffins: Santa’s Sweet Hats
One of the most delightful contributions was from a colleague who brought kladdkaka muffins, Sweden's gooey chocolate cake in perfect single-serve portions. Each muffin was topped with a swirl of whipped cream and a fresh strawberry, cleverly designed to resemble Santa’s hat. They were as adorable as they were delicious.

For more sweet treats, we enjoyed an assortment of Christmas cookies. Gingerbread, shortbread...

Dill, Cheese, and Vörtbröd – A Taste of Tradition
Of course, no Swedish Julbord would be complete without traditional flavors. We enjoyed vörtbröd, a spiced rye bread, paired with cheeses and ham slices.
The best part of our Julbord wasn’t just the incredible food—it was the camaraderie. Sharing dishes we each prepared or selected with care made the event feel personal and meaningful. 

Our workplace Julbord was a wonderful and fun. Here's to more celebrations like this in the future—God Jul!


 Enjoy!

Thursday, 26 September 2024

Game Night Snack: A Refreshing Dill and Seaweed Caviar Dip

With so much sports action happening on TV lately, it’s the perfect time to enjoy some delicious snacks while you cheer for your favorite team. One of my absolute favorites during these busy game nights is a simple yet flavorful dip that never disappoints. It’s quick to make, refreshing, and pairs perfectly with lightly salted crisps. Trust me, this is a winner whether you’re hosting a game night or just treating yourself!

Here’s what you’ll need:
  • Light crème fraîche
  • One lime
  • Fresh dill
  • Seaweed caviar (tångkaviar)
  • Chopped onions (preferably red for extra flavor)
To whip this up, start by spreading a generous layer of crème fraîche over half of a plate or shallow dish. Next, spoon on the seaweed caviar, scatter the chopped onions, and sprinkle a handful of fresh dill over the top. The final touch? Squeeze the juice from a fresh lime across the dip for that zesty kick. Serve it with lightly salted crisps, and you’re good to go!

The combination of the creamy crème fraîche, briny seaweed caviar, and the sharpness of the onion and lime creates a dip that’s fresh, tangy, and totally irresistible. The lightly salted crisps add the perfect crunch, making it a snack that’s ideal for game night, a quick bite between matches, or even as a starter before dinner.

It’s simple, it’s tasty, and best of all, it’s ready in minutes. 


Enjoy!


Wednesday, 25 September 2024

Air Fryer Burgers: A Quick, Crunchy Twist on a Family Favorite

On those hectic days when life feels like a race, sometimes you just need a meal that’s quick, easy, and guaranteed to please. In our household, one of the biggest lifesavers has to be ready-made fresh burger patties. They’re a breeze to whip up, especially when I let the air fryer do all the heavy lifting. But what really makes this meal a winner is the fun twist I’ve added: serving the burgers with salted crisps, and even sneaking a few inside for that perfect crunch! 
To do:
Here’s how it goes: I grab the fresh burger patties, toss them into the air fryer, and let them cook to juicy perfection in just a few minutes. No babysitting required. While they’re sizzling away, I get the buns ready, slice up some onions, prep the lettuce, and cut a few juicy tomatoes. A dollop of burger dressing (or whatever sauce you have on hand) goes on the buns with ketchup, and suddenly, you’ve got the makings of a classic burger.

Now here’s where the magic happens—crisps! Instead of serving fries or a side salad, I grab a bag of salted crisps. Not only do they add that salty, irresistible flavor to the meal, but here’s the kicker: I stuff a few right inside the burger. That extra crunch when you bite into it is a total game-changer. It takes the texture up a notch and adds a fun surprise, making the whole experience more exciting, especially for the kids. It's that simple twist that turns a regular burger into something extra special.
Of course, you can keep it classic and serve the crisps on the side too—because let’s be honest, a handful of salted crisps is never a bad idea. But adding them into the burger itself? That’s the next level. And the best part? The kids are all for it! It’s become a family-approved favorite, especially on those busy evenings when we need something fast and tasty that doesn’t require too much effort.


 Enjoy!

The Perfect Crispy Potato: A Simple Delight with a Flavorful Twist

There’s something magical about the humble potato. It’s versatile, comforting, and when you do it right, absolutely delicious. My current obsession? Crispy potatoes that are perfectly soft on the inside, golden and crunchy on the outside, and topped with cheesy, herby goodness. And the best part? It’s so easy, especially with the help of my trusty air fryer.

To do:
This dish starts with something simple—boiling the potatoes just until they’re tender. I like to use smaller potatoes for this recipe, but you can use whatever you have on hand. 
Once they’re boiled, here comes the fun part: tossing them into the air fryer. 
But not before sprinkling them generously with some shredded cheese, your favorite spices (paprika, garlic powder, and maybe a little rosemary), and a drizzle of olive oil.

The air fryer works its magic, transforming these already soft potatoes into crispy, golden perfection in just a few minutes. The cheese melts into a bubbly, savory crust, while the spices infuse every bite with flavor. The result? Potatoes that are crispy on the outside with a rich, cheesy coating, and soft, fluffy goodness inside. It's honestly the ultimate potato experience.

The dip:
But no crispy potato dish is complete without a dip, and this one is as easy as it is delicious. I mix Greek yogurt with crème fraîche, creating a creamy base that’s both tangy and rich. Then I add a simple garlic dip seasoning mix (the kind you can find at the store), which turns this combo into a heavenly dip that's both fresh and flavorful. The cool, creamy dip pairs beautifully with the warm, crispy potatoes, creating a perfect balance of textures and tastes.

Whether it’s a snack, a side dish, or even a meal on those nights when you just crave comfort food, these crispy potatoes have quickly become a favorite in my kitchen. The air fryer makes it effortless, and the addition of cheese, spices, and that creamy dip takes it to the next level.


 Enjoy!

Tuesday, 24 September 2024

Life in the Fast Lane: Macaroni with sausage

Life with three kids is like trying to balance on a tightrope while juggling flaming torches. It’s a whirlwind of school drop-offs, homework sessions, and endless football practices and matches. As a parent, you’re always on the move—packing bags, tying shoelaces, and ensuring no one forgets their water bottle. It’s a beautiful chaos, but when you're constantly bouncing between activities, the last thing you have time for is cooking an elaborate meal.

This is where the art of the super-fast meal comes in. There are days when I dream of having the time to prepare a slow-cooked meal, but more often than not, reality wins. Dinner needs to be on the table fast, and that’s okay! Sometimes, you just need to take the easy way out, and honestly? Some of the easiest meals are also the biggest crowd-pleasers in our house.

One of our go-to’s? Macaroni with sausage, ketchup, mustard, and a sprinkle of roasted onion. It’s not fancy, but it’s hearty and comforting, and—best of all—it’s a favorite with the kids. Plus, there’s something so nostalgic about it that it makes me feel like a kid again, too.

Another all-star on those crazy football nights is the simple but unbeatable korv med bröd—sausage in bread, with ketchup (and maybe mustard, if I’m feeling fancy). You can’t go wrong with it. It’s quick, portable, and ideal for those evenings when you’re racing from one place to another and need a meal the kids can eat in the car. No plates, no mess, just grab and go.

The best part? The kids love it! These meals aren’t just convenient for me—they're kid-approved, which makes dinner time less of a battle. On those hectic days when I’m tempted to feel guilty about not preparing something more “nutritious,” I remind myself that feeding happy, satisfied kids is what truly matters. And hey, sometimes you need the fast and easy option, especially when life moves at the speed of football drills.


Enjoy!
 

Sunday, 7 April 2024

Fast food on your way home

I'm on my way home and thinking about what we should have for dinner. One of my favorite go-to fast dinners is pizza. I usually buy a margherita pizza base and customize it with whatever leftover veggies or toppings I have on hand. Typically, I use bell peppers, squash, corn, mozzarella cheese, chicken, or whatever leftovers I have from yesterday's dinner.

 I chop up all the veggies, sprinkle them over the pizza, add extra cheese, and bake it in the oven until golden brown. I usually serve it with a fresh green salad and ice-cold cola. Yum


Tuesday, 2 July 2013

Gooey yet Crunchy Fajitas - Recipe

When we get tired of hearty dishes like rice and stews, family and I love to make easier yet delicious meals instead of a take away. But when you still craving fast food, homemade fajitas is a great choice for those lazy days when you just can't think of a 2 course meal that will take a few hours to cook. 

Delicious fajitas
Now I don't make everything from scratch as I can be too lazy to do so, but making fajitas at home instead of ordering them, can be such fun as they are very easy to make and can be varied easily. You can use chicken, lamb, beef or even shrimps and choose from different types of veggies to be included in your fajita. I usually choose chicken, sun dried tomatoes, corn, paprika and onions for my filling. Here is how I make mine:

Serves: 3

Recipe:
2 chicken breasts, sliced
1 red onion, sliced
1 yellow paprika, sliced
1/2 cup sweet corn
2 sun dried tomatoes, sliced
fajita spice mix (I use Old el Paso spice mix)
8 tortillas
200 g salsa sauce (any salsa sauce you like or make your own)


Method:
1- Slice up the chicken and brown it in a frying pan with 2 tbsp of olive oil. Once the chicken is browned add the amount of fajita spice mix you like, I usually use half of the spice mix bag. While the chicken is frying,  slice the veggies. 


2. Once the chicken looks almost cooked, add the vegetables and add a little more of the fajita spice mix. After few minutes, when the vegetables are soft yet crunchy, add the salsa sauce and stir well for about 10 minutes on medium heat, until the sauce has reduced a little to a nice sticky consistency.


3. Let the filling cool a little and prepare the tortillas, by warming them slightly. Add some of the filling on a tortilla and top it with some grated cheese. Since I like to make my fajitas crunchy I also add a mix of different salad leaves but you can leave it out if you don't like it. Roll them up and enjoy a lovely, gooey yet crunchy meal!


Enjoy!

Monday, 29 April 2013

Smoked Turkey and Vegetables Baguette - Recipe

At university, our lunches use to be a simple baguette with our favorite filling: creamy curried chicken, kycklingröra baguette. I loved it and could have one almost every day. The chicken curry was so perfectly creamy and filling, for the affordable price of 35 SEK. I have tried myself many times to do this lovely baguette at home and in smaller quantities for parties, it has been always successful so soon there will be a post about that.
Macka - Kycklingröra
But today, I want to share my turkey and vegetable baguette with you. It is such a simple baguette and takes no time in doing it. Perfect for breakfast, lunch with a nice cold coke or afternoon snack and tea. It is full of nutritious vegetables and have a lovely smokey taste from the turkey which is perfectly completed with the creamy coleslaw and crispy onions.

Ingredients:

1 baguette
3 slices of smoked turkey
Crispy onions
2 tbsp coleslaw
2 tsp spreadable butter
5 slices of tomato
lettuce
6 slices of cucumber
crispy onion pieces (I used the top taste brand)


Method:

1- Slice your baguette half lengthwise in the middle and take out some of the soft white bread. Spread the butter first and the coleslaw. 


2- Sprinkle over the crispy onion pieces and place the turkey slices on top of it, slightly folded on one side.


3- Add the vegetables on top of the turkey slice, begin with lettuce and finish off with cucumber and tomatoes. U can also add cheese slices as well or any other nice ingredient you like with the turkey, but  I left it simple. 


Enjoy!


Wednesday, 10 April 2013

Bruschetta with Cherry Tomatoes and Mozzarella - Recipe

 For being somebody that love to cook, I can be really lazy sometimes and have zero inspiration. For those days, I still need to eat, and I prefer something easy, comforting and warm. For me, my Bruschetta with Cherry Tomatoes and Mozzarella are perfect for such days. 

My all time favorite inspirational YouTuber, Laura Vitale with her channel Laura in the Kitchen, is somebody I always go back to when I need easy and quick recipes. She makes the most delicious Italian food for all types of occasions. Her recipes are my first option I go to, when I need some great  and traditional meal ideas for those days I invite my Italian in-laws. She has at least 10 different ideas when it comes to do bruschettas. There are indeed endless variations and just use your imagination and you can create whatever topping you want for them. They are perfect to have as a snack, starter or side dish.

Ingredients:
13 cherry tomatoes, halved
1 mozzarella ball, shredded
few fresh basil leaves, chopped
1 French baguette, sliced diagonally
2 tbsp butter 
3 tsp of mixed dried herbs and garlic powder
1 pinch of salt and pepper and dried parsley 

Method:

1-Preheat the oven to 190C degrees. Wash and half the cherry tomatoes, shred mozzarella ball and chop the basil leaves. Mix it in a bowl and sprinkle over salt, pepper, and dried parsley to taste.


2- Slice the garlic baguette diagonally to get more surface, each slice should be ca 1/2 inch or 2 cm thick. Mix the butter with the dried herbs and garlic powder. Butter each slice of the baguette and add   an even amount of the tomato mix on each of them. In two of the slices I deliberately removed tomatoes as few family members don't like them.


3- Put the bruschetta slices on a baking tray and bake in the oven for 20 minutes or until golden brown and the mozzarella has melted.


The two following youtube clips by Laura Vitale are my inspiration for this recipe:


Enjoy!

Wednesday, 14 November 2012

Enchiladas - Recipe

Yesterday, I decided it was time for something we hadn't had in a long while—enchiladas! After a busy day at work, I was on my way home and realized it was getting late. I also had a Skype date with my friends in Sweden, so I needed something quick and delicious. A stop at Sainsbury's for corn tortillas and chicken breasts gave me the perfect idea. I already had some enchilada and fajita spice mixes from an Old El Paso kit at home, so with my husband’s help, we whipped it all together in no time. Here’s my twist on simple enchiladas!

Ingredients:
1,5 big chicken breasts, sliced 
1 red bell pepper, sliced
3 large mushrooms, chopped
10 cm of a leek, sliced (wash properly to remove hidden dirt)
6 cm aubergine, sliced
 1 small can of sweet corn
2 tsp fajita spice mix
1,5 tbsp enchilada spice mix
3 tbsp olive oil
1 cup grated cheese
2 cups tomato sauce
8-10 corn tortilla bread

Process:
1- Slice and chop all the ingredients. Heat 2 tbsp of olive oil in a pan and cook the chicken until the liquid evaporates. Add half of the enchilada spice mix to the chicken and fry together with the sweet corn until well combined.


2- In another pan, heat 1 tbsp olive oil and sauté the vegetables with the remaining enchilada spice mix. Once both the chicken and vegetables are golden brown, combine them and let the flavors blend for a few minutes. Add 1 cup of tomato sauce and mix well.


3- Place some of the filling onto each tortilla, roll them up, and place them seam-side down in an ovenproof dish. Repeat with the remaining tortillas.


4- In a small bowl, mix 1 cup of tomato sauce with the fajita spice mix, then pour it over the rolled tortillas. Sprinkle the grated cheese generously on top.

5 - Bake in the oven at 180-200°C for 30-45 minutes, depending on your oven, until the cheese is melted and bubbly.


I used the Old El Paso enchilada spice mix for the filling and fajita spice mix in the tomato sauce, which gives the dish a smoky, rich flavor. Traditionally, enchiladas are made with fewer vegetables, but I love adding my own twist with a variety of veggies. They bring new layers of flavor and add some healthy balance to the dish. I hope you give this version a try!


Enjoy!


Monday, 22 October 2012

Feta Cheese Pasty

When I am really hungry but to lazy to cook something, I love to come up with easy recipes that are delicious and can be done in less then half hour. So the other day when I felt hungry, I checked what i had at home to make something quick and easy for an evening snack. I found the perfect ingredients for a tasty hot feta cheese pasty: herbs, feta cheese and puff pastry dough.


It is really easy to make the pasty. Basically, I just cut of a piece of the puff pastry dough and rolled it out with some flour to make it non-sticky. I cut up some feta cheese in a bowl and mixed it with a tea spoon of the herbes de provence and mixed well. 


I took some of the filling and put it on one side of the rolled out dough and folded the other side over. I folded the edges twice and pinched it so that the filling will not leak through once melted in the oven. I made small holes with a fork in the pasty so that hot are would come out. I put the pasty in the oven for 10-20 minutes on 200 C degrees and out came the most delicious and cheesy pasties :)


Best way to enjoy one of 
 these feta cheese pasty is with a cup of nice tea. Hope you will give this easy pasty a try. Trust me, you will go back to make it over and over again :)


Enjoy!

Thursday, 6 September 2012

Fast Pizza - Recipe

A quick pizza is often the ultimate comfort food when you're short on time to prepare a meal from scratch. I purchased three pizza bases with tomato sauce and cheese already on top, then simply utilized whatever ingredients I had at home today to add on top and baked them in the oven.


The ingredients I used include the following (which can be adjusted according to taste):


  • Diced, grilled chicken breast (details on how I grill the chicken will be shared in a later post)
  • A half green bellpeper, grilled
  • A quarter of a small eggplant, grilled
  • A quarter of a leek, grilled
  • Sweetcorn
  • Tomato, sliced
  • Sea salt to taste
  • Cheese

After grilling the bell pepper, eggplant, and chicken in a pan, I sprinkled the grilled ingredients, along with the tomato, sweetcorn, and extra cheese, over the pizza base. Then, I preheated the oven to 190 degrees Celsius and baked the pizza for about 15 minutes. However, please note that all ovens are different, so your pizza might require more or less time in the oven. Keep an eye on it, and once it turns golden brown, it should be ready.


I recommend serving a nice cabbage or green salad alongside, as we often do in Sweden. :)


Now, I've only tried out these specific ingredients on the pizza this time. However, feel free to use whatever toppings you desire. You can add salami, mushrooms, mozzarella cheese, other veggies, etc. Let your imagination run wild when making your pizza! The key ingredient is an already made pizza base with tomato sauce and cheese, which makes the baking process very simple and ensures a dinner ready within 30 minutes.


Enjoy !